移軸特效 (Tilt-shift) :後製小人國特效
首先,先來說明一下什麼是移軸攝影 (Tilt-shift photography):
“Tilt-shift photography” refers to the use of camera movements on small- and medium-format cameras, and sometimes specifically refers to the use of tilt for selective focus, often for simulating a miniature scene. Sometimes the term is used when the shallow depth of field is simulated with digital postprocessing; the name may derive from the tilt-shift lens normally required when the effect is produced optically.
cited from Tilt-shift photography – Wikipedia, the free encyclopedia
移軸攝影 (Tilt-shift photography) 是指利用一種特殊鏡頭 (例如:Nikon 的微距移軸鏡) 拍攝出來的攝影作品,這種特殊的鏡頭有別於一般常見的鏡頭,可做 shift 移位及 tilt 移位,可控制相片透視變形及景深,透過改變景深的範圍,可讓攝影作品出現一種像是俯瞰小人國或模型的視覺效果,移軸鏡頭通常被用來拍攝風景、建築、商品等攝影題材。
由於移軸鏡的特殊功能,使得它的價格通常都非常的驚人,大部分人可能會負擔不起這種價位!那怎麼辦!? >///< 幸好拜現在影像編修科技的進步所賜,我們現在可以利用一些影像編修軟體,例如:Photoshop 等,利用後製 (Post Processing) 的方式做出類似移軸的效果。
雖然目前網路上已可找到非常多,關於後製移軸效果的教學文章,但是,小弟還是想要來野人獻曝一下,在接下來的文章,將展示一下如何使用 Photoshop CS4 快速做出移軸的效果! ^___^
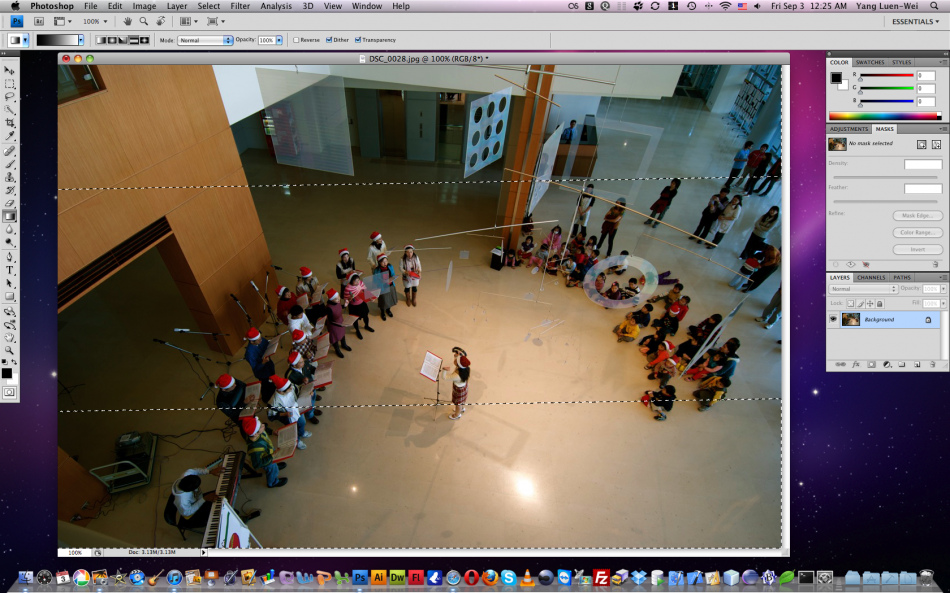
- 首先,用 Photoshop 開啓要編修的檔案,然後在左邊的工具列中點選 Gradient Tool,然後在上方的工具列上選取 Reflected Gradient,並且 Edit in Quick Mask Mode。接著,以滑鼠在圖片上拉出要保持清晰的範圍。
- 然後,取消 Edit in Quick Mask Mode。
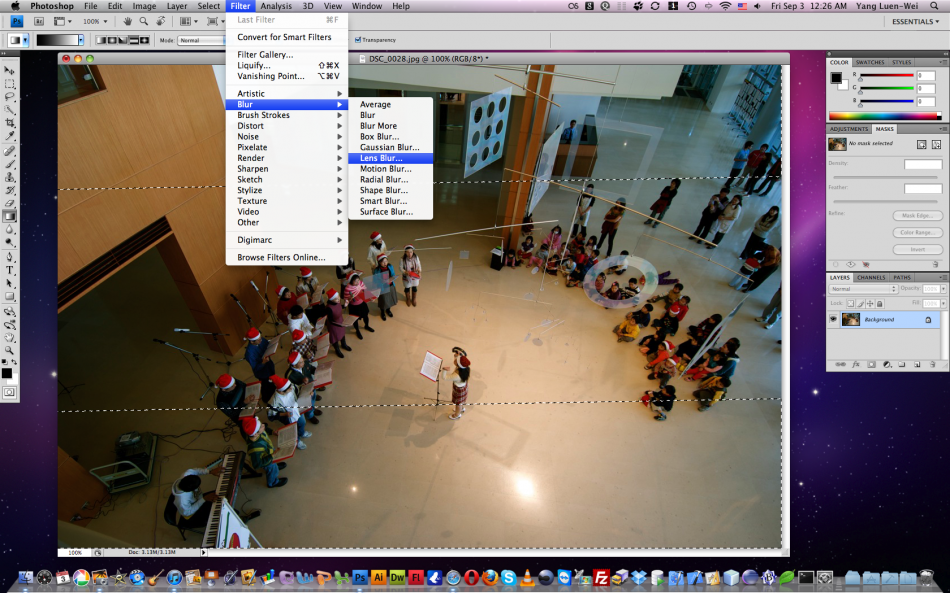
- 在最上方的工具列中,選取 Filter >> Blur >> Len Blur!
- 存檔,大功告成!


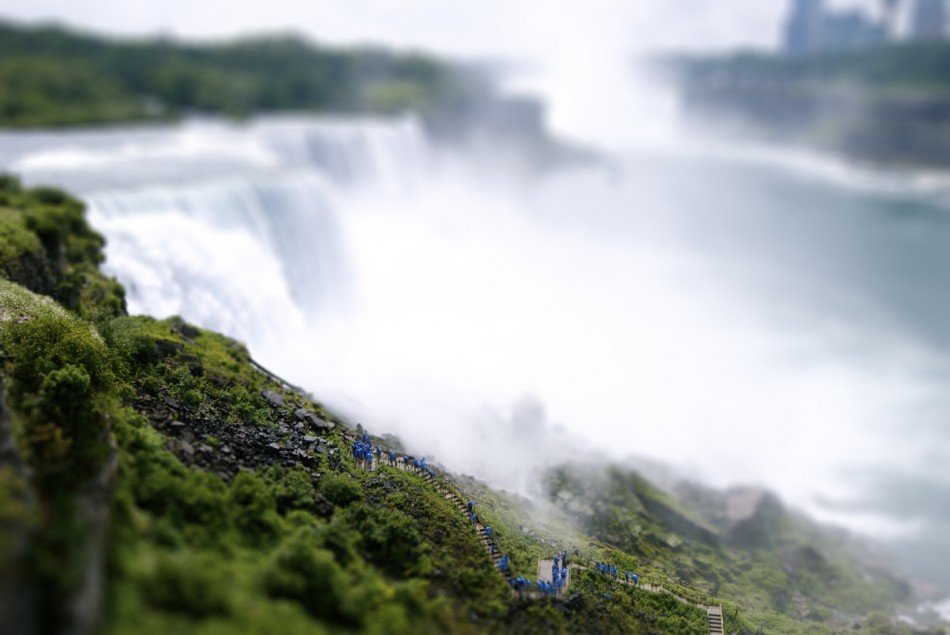
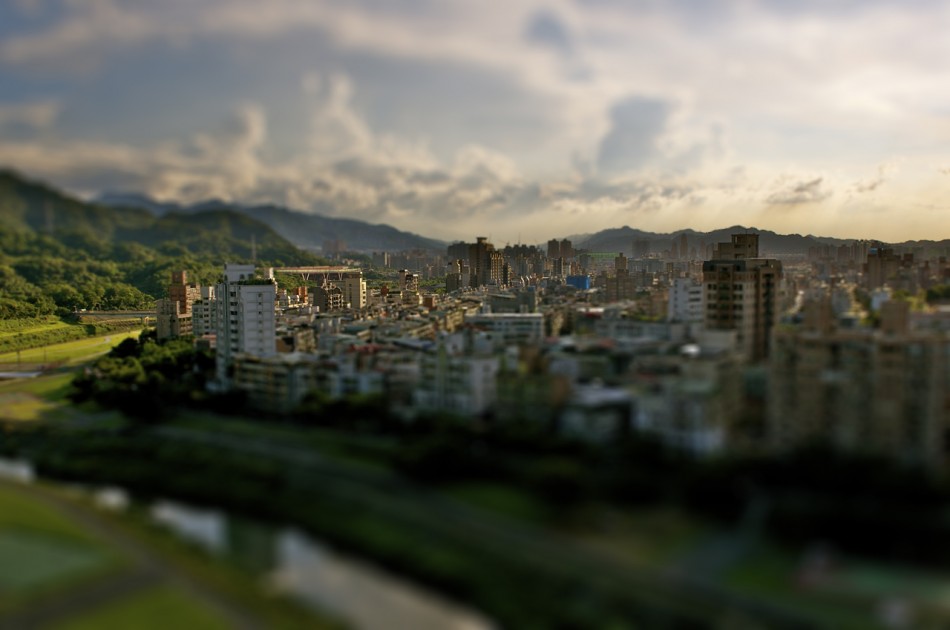
以下,展示一些小弟的做出來的成品給大家看看囉!
最後,其實在網路上還有線上製作移軸效果的網站喔!例如:tiltshiftmaker.com – Transform your photos into tilt-shift style miniatures


